This is the fourth and final article in a series written to illustrate how to operate an AN/TSC-60(V)9 HF Communications facility with a modern computer. In the last article "ACMEXEC Talking COM1 via USB" we saw how using a third party FTDI USB-to-Serial cable and a 9-pin to 25-pin adapter works for using a modern 32-bit Windows computer to run the HF-80 radios inside the shelter. In this article we take that success one step further by making it all work on a 64-bit Windows 7 computer.
As you might recall from previous articles, the ACMEXEC application is an older (probably) 16-bit application that will not run on a 64-bit system, even in a DOS command window. The error message is simple:
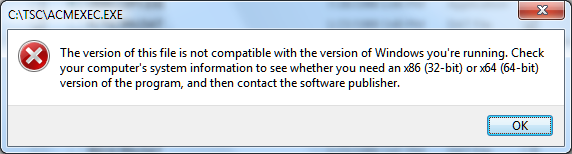
In a previous article, I mentioned the potential to use a program called DOSBox which is a free x86 emulator typically used by gamers to play older games that aren't compatible with modern computers. However, it's also a good emulator for running older DOS programs like this one from the GRiD laptop. DOSBox can be found at the following web site: http://www.dosbox.com/
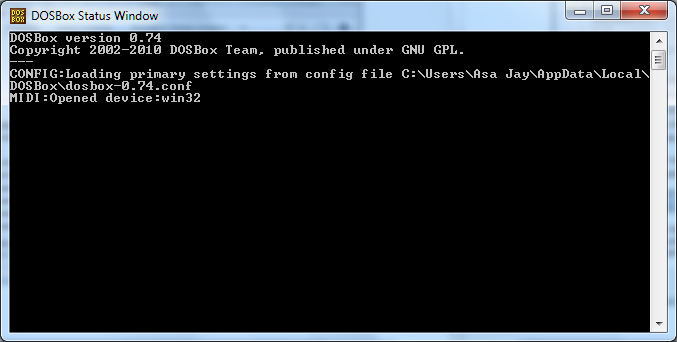
A Windows installer is available making it very easy to get up and running. Once DOSBox is installed, start the application and you should have two screens that come up and tile one on top the other. This is the window that opens first.
This is the window that opens second.
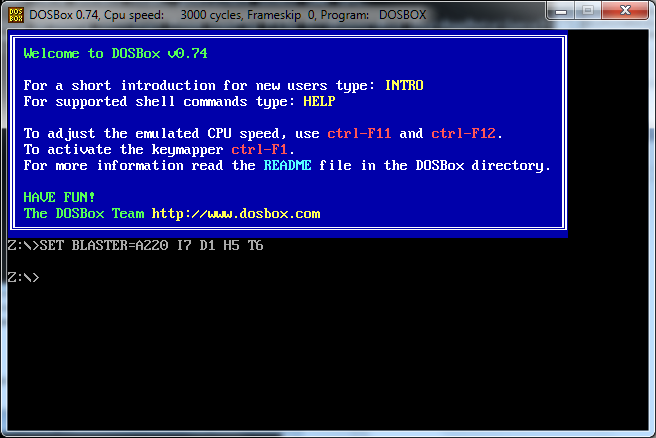
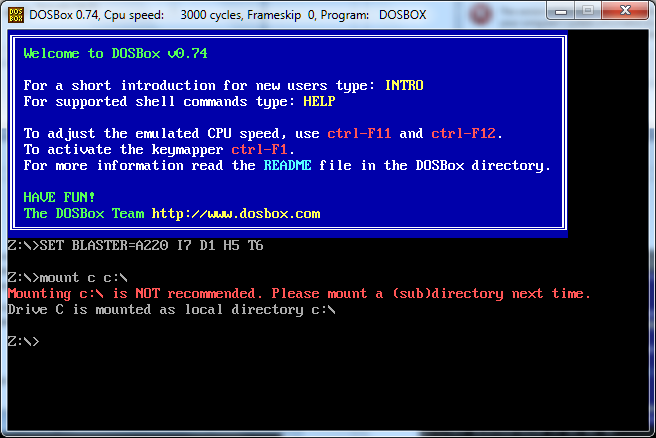
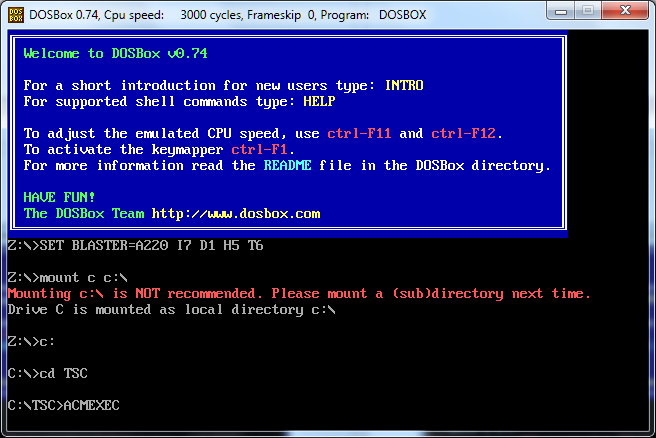
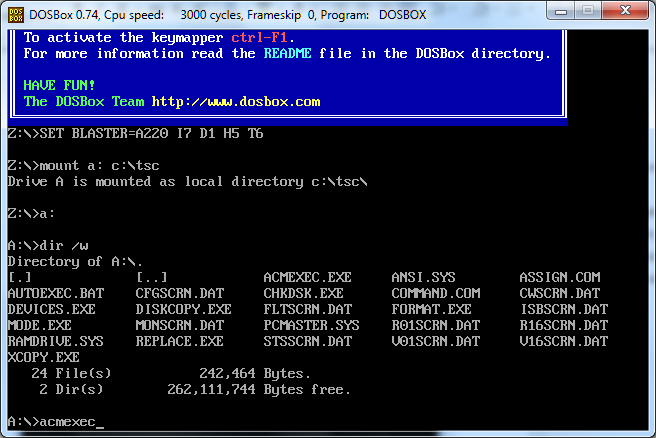
You'll note that DOSBox opens to a Z: drive prompt. The TSC-60 files we want are in C:\TSC where we copied them in a prior article. At the moment, DOSBox is unaware of any other drives until you mount them. At the command prompt inside DOSBox, type "mount c c:\" and press [Enter] to register C: as the actual C: drive of the computer.
Now it's an easy task to change to C: drive and then change directory to the TSC directory I created earlier. At the prompt type "c:" and press [Enter], then "cd TSC" and press [Enter]. The name of the program we want is ACMEXEC.EXE which runs the radio control program. It's the same file called from the AUTOEXEC.BAT file on the GRiD. Type "ACMEXEC" at the prompt and press [Enter]
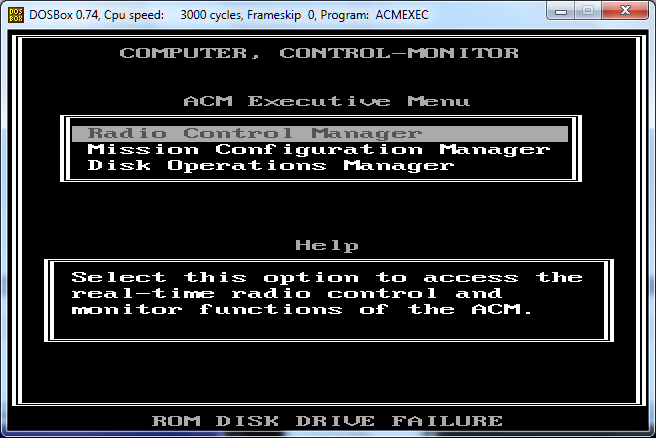
The radio control program starts up and reminds us we don't have a ROM drive. Recalling our investigation and solution from the article "Running GRiD ROM Files from a Hard Drive" we found we have to define C:\TSC drive and directory as an A: drive. Let's do that next.
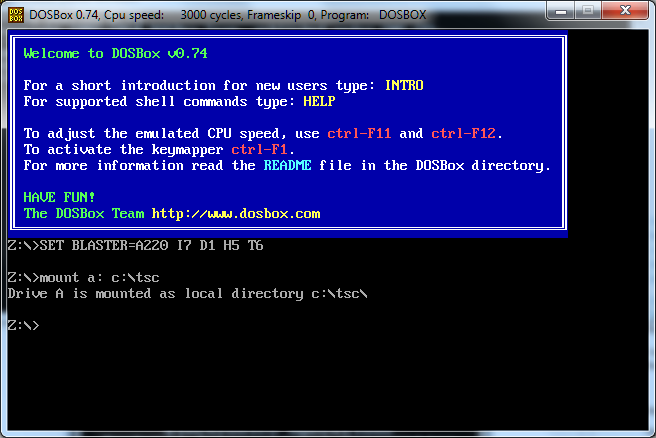
Just like we mounted C: as a drive in DOSBox, or just like we used the SUBST command in DOS, we can reassign C:\TSC to be A: drive. Starting with a fresh instance of DOSBox, we type "mount a: c:\tsc" at the prompt.
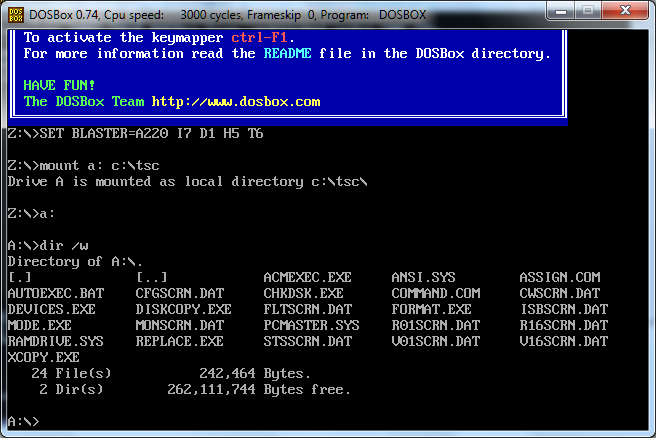
With A: drive now defined and pointing to C:\TSC it was time to test the program. First change to A: and do a directory listing to ensure the files are there.
Now to test the program. At the prompt, type "ACMEXEC" and press [Enter].
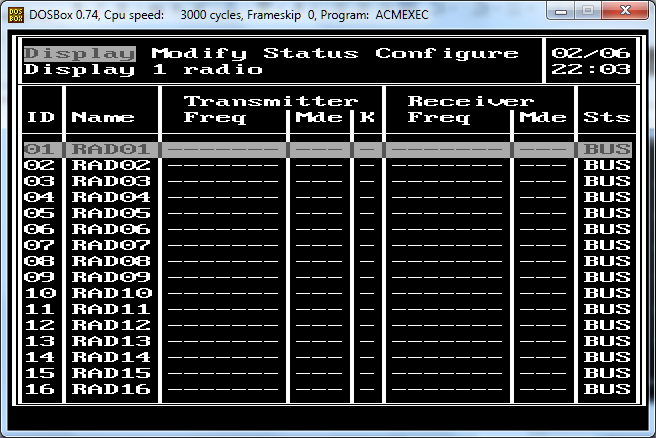
Apparent success, the radio control screen starts.
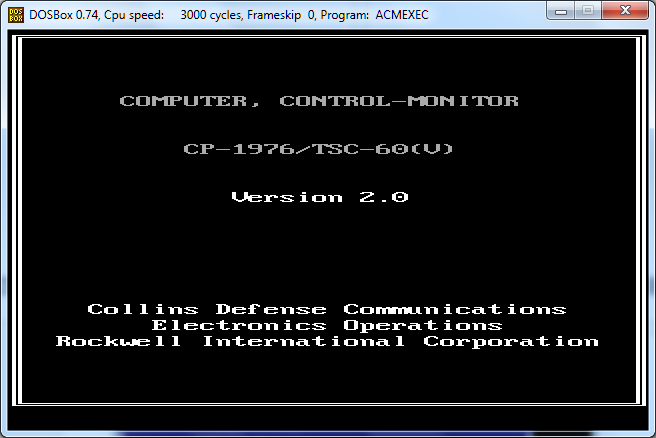
Once the System Initialization completed, it dropped into the radio control screen.
At this point we have proven that the ACMEXEC application can run via DOSBox, but we still have to get it signaling out a USB port as COM1. Refer back to the article "ACMEXEC Talking COM1 via USB" to get a refresher on how we installed the USB-to-Serial converter, driver files and finally set the converter port to COM1. On the 64-bit laptop I'm working with here, I did the same thing, so COM1 was my USB-to-Serial converter. The next step was how to make DOSBox look at that same port as COM1.
Fortunate for us, DOSBox has a good Wiki full of documentation. For our purposes we need to look into the configuration file at the serial port section. Here is a link to the DOSBox reference:
http://www.dosbox.com/wiki/Dosbox.conf#.5Bserial.5D
The DOSBox configuration file is kept in the user directory at C:\Users\<username>\AppData\Local\DOSBox and is named dosbox-<version number>.conf. You can open the file from your file explorer; however, DOSBox gives us a convenient shortcut in the Start menu, by going to Start > All Programs > DOSBox-<ver.> > Options > DOSBox-<ver.> Options.
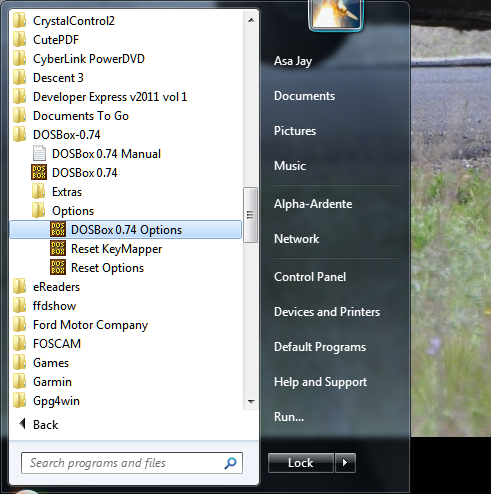
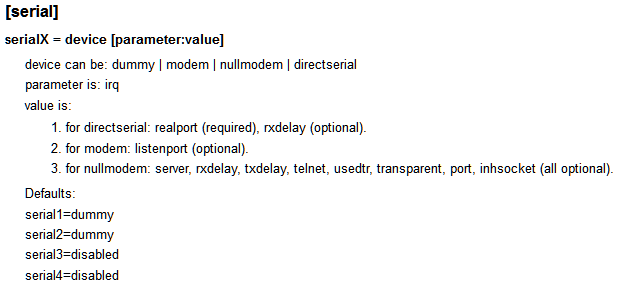
This will automatically open the configuration file in Notepad. Once open, you want to scroll to near the bottom where the [serial] section is located. The file has information about the options available and then lists four potential serial ports.
For this configuration, we want DOSBox to see COM1 on the real computer. Therefore we change the setting for serial1 to point to the real COM1 port.
Edit the file so serial1 looks like this:
serial1=directserial realport:com1
Once edited, the serial section of the configuration file should look like this:
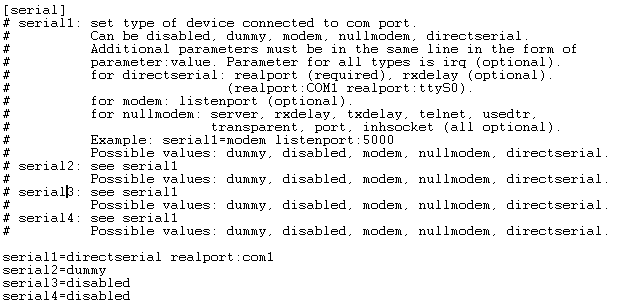
Save the file.
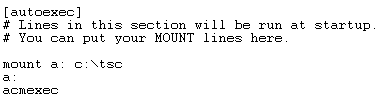
There is one last thing that we can do while we are in the configuration file. If you scroll to the very bottom, you'll see a section labelled [autoexec] which will act just like an AUTOEXEC.BAT file in a booted DOS environment. In other words, whatever is typed in that section will be executed when DOSBox starts.
Since it would be handy if the ACMEXEC started up automatically when we double-clicked the DOSBox icon, we can put those start up lines in this section of the DOSBox configuration file.
At the bottom of the [autoexec] section type the following three lines:
- mount a: c:\tsc
- a:
- acmexec
This will automatically create an A: drive pointer to the existing C:\TSC directory, change to the A: drive which looks just like the ROM from the GRiD, then executes the ACMEXEC.EXE application to control the radios.
This is what the [autoexec] section of the configuration file should look like when you are done.
With the changes made, save and close the file. Now we are ready to test it.
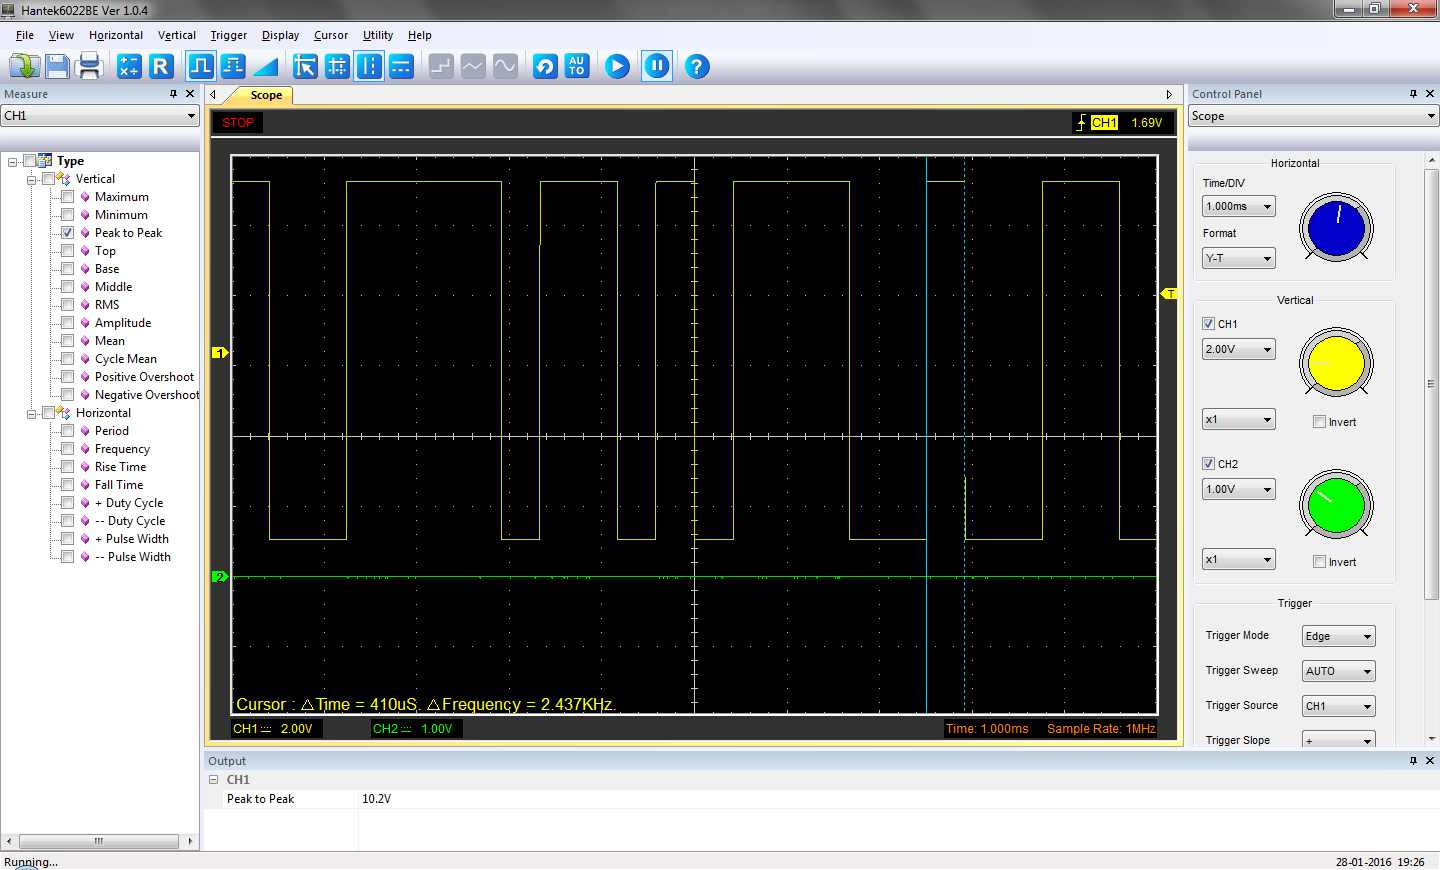
From either the desktop or the Start menu, start DOSBox. It should open the two windows and immediately go into the radio control program. At this point I wasn't able to get to the facility to test the 64-bit laptop I was using; however, I was able to use an oscilloscope to make sure the serial port was putting out the data I expected; 2400 baud.
We have now successfully run the ACMEXEC radio control application inside DOSBox on a Windows 7 64-bit computer to control the HF-80 radios in an AN/TSC-60(V)9 HF Communications facility. In summary:
- Copy files from GRiD to floppy by using copy a: to b: and then copy to a hard drive
- Use a good (FTDI) USB-to-Serial converter cable and 9-pin to 25-pin serial adapter, and assign as COM1
- Use a DOS Command prompt window on 32-bit systems, or DOSBox on 64-bit systems
- Using SUBST (32-bit system) or "mount" (in DOSBox on 64-bit system), make A: point to C:\<directory of GRiD files>
- Using DOSBox, add COM1 and autoexec items to the configuration file
Hopefully this series of articles will have helped you. Have fun with it. :
Microsoft and Windows are either registered trademarks or trademarks of Microsoft Corporation in the United States and/or other countries.